Want to add piping cord to your latest sewing project?
Ready-made products are available to buy online. But why not have a go at making your own? Taking the DIY route can be fun, rewarding, and cheaper. And it’s pretty easy when you know how.
Just stock up on some cotton piping cord, follow our step-by-step guide and send us some photos of your decorative piped creations. We always love to see our products in action!
What will I need?
- Cotton piping cord (bleached or non-bleached)
- Fabric
- Matching thread
- A sewing machine with a zipper foot
- Pins
- Scissors
- Dressmaker’s chalk
- A ruler
5 steps to create your own piping cord
Step 1: Cut strips of fabric on the bias
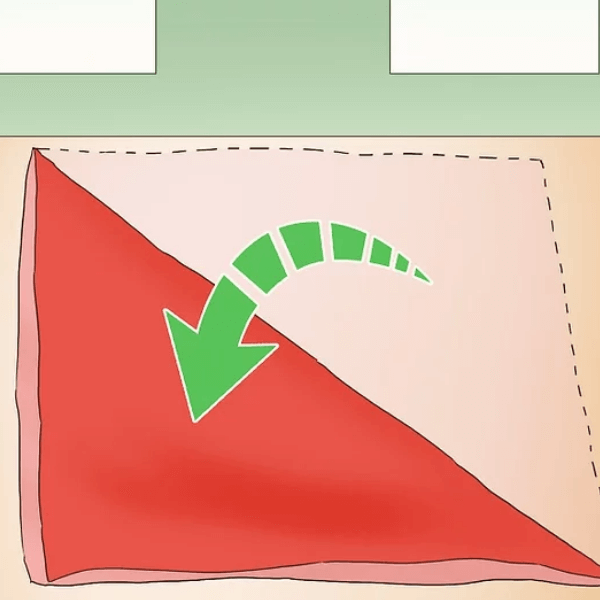
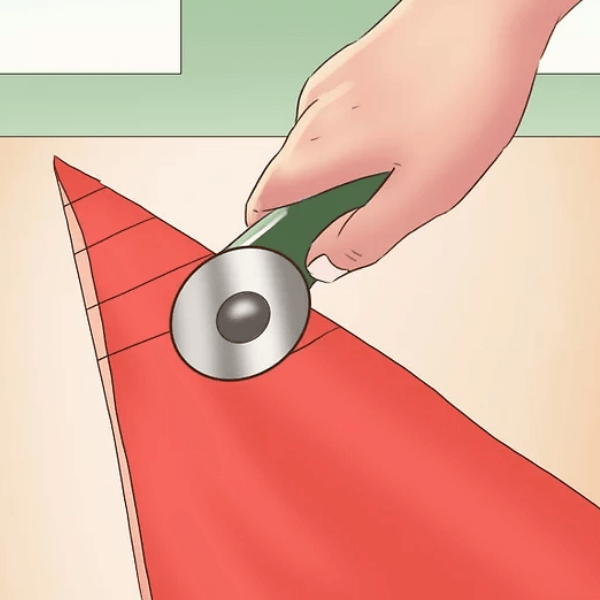
First things first, you need to create a bias tape. A bias tape is a narrow strip of fabric cut on a 45˚angle. Cutting the fabric in this way will ensure your final covered piping cord is as flexible as possible.
To create the bias tape, fold your chosen fabric in half diagonally, bringing the top-right corner down to the bottom-left. Then, measure and mark out 1 ½ inch strips using the chalk and cut across with scissors. The number of strips you require will depend on the size of the area you wish to pipe.
Step 2: Join the strips of fabric
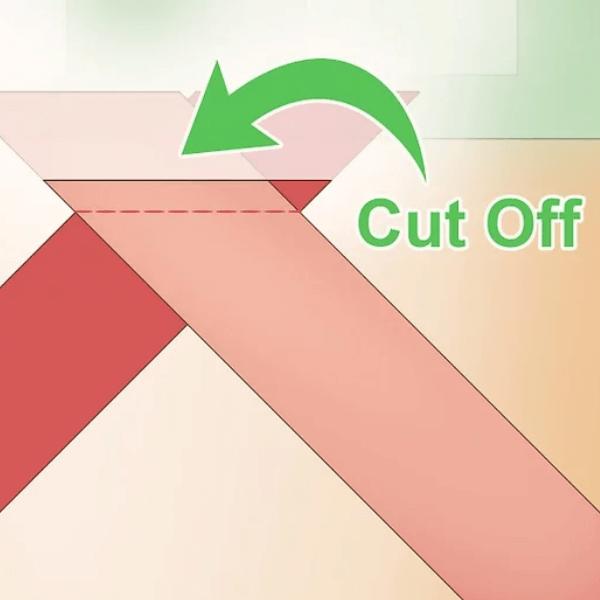
Take two of the fabric strips you’ve just created and position them – wrong side up – to create a right angle. Then, use a straight stitch on your sewing machine to sew from one side to the other.
Ideally, you should try to use a coloured thread that matches the colour of your fabric.
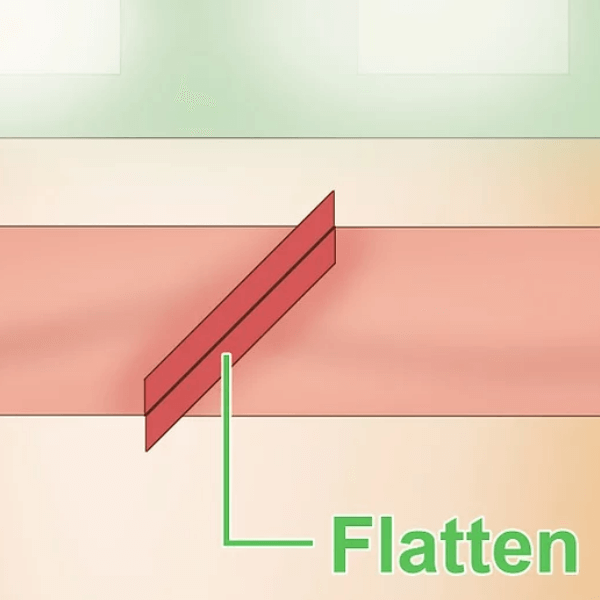
Once the two trips are securely sewn together, cut a seam allowance of approximately ¾ inch. Open up the right angle into a straight line and iron the seam flat. You should then repeat this process, joining additional strips of fabric in the same way, until you have enough to create your piping.

Step 3: Insert the cotton cord piping
You’re now ready to start making your piping.
If you wish to pipe the circumference of an item (such as a pillow), start by folding in one end of bias tape by an inch and ironing it down. If you’re piping a straight seam, you can skip this step.
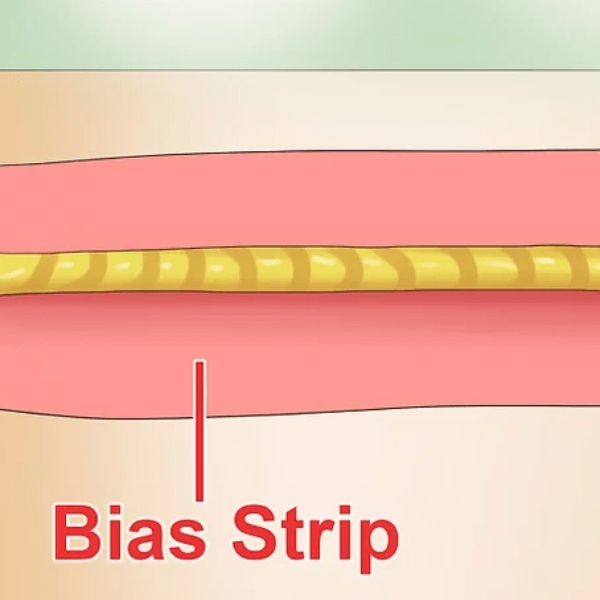
Lay the bias strip, with the wrong side facing up, and position your cotton piping cord perfectly in the middle. Trim the cord so that it finishes about an inch away from the end of the tape.

Step 4: Add the final stitches
The final step is to sew the cord into place.
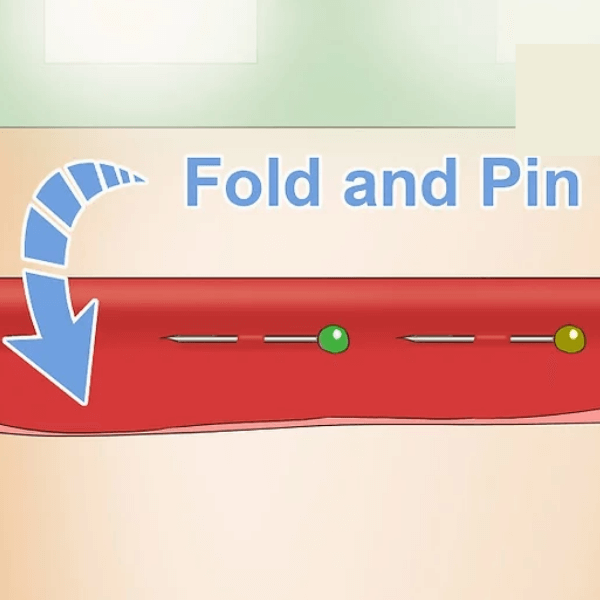
Fold the fabric towards you – over the cord – so that it’s sandwiched inside and secure it with pins.
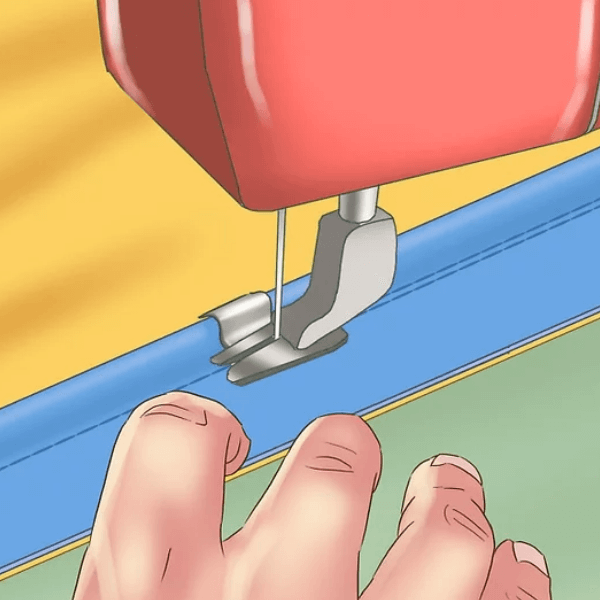
Then, place the folded strip underneath the zipper foot on your sewing machine, so that the cotton piping cord is positioned below the groove. Bring the foot down onto the fabric – moving the needle left or right so that it’s as close as possible to the cording – and sew across the bias tape.
We recommend using a straight stitch and the longest length on your sewing machine. Take care not to sew the piping cord in too tightly and leave a seam allowance of approximately ½ inch.
Step 5: Attach the piping to your project
Now you’ve created your piping, it’s time to add it to your project.
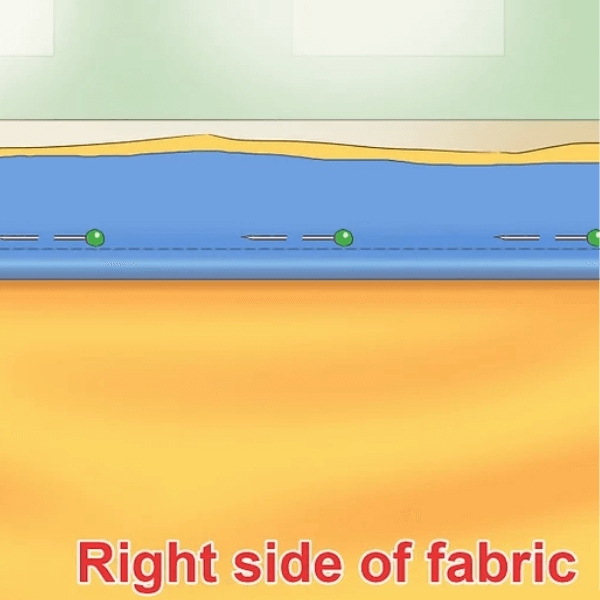
The method you will need to use will, ultimately, depend on what it is you’re making. But generally, to attach the piping to a swatch of fabric, place the fabric right side up onto a flat surface. Position the raw edge of the piping so that it’s aligned with the raw edge of the fabric and secure with pins.
Finally, sew the piping to the fabric using a straight stitch and the longest stitch length on your machine.
Invest in cotton piping cord and get crafting
Fancy having a go?
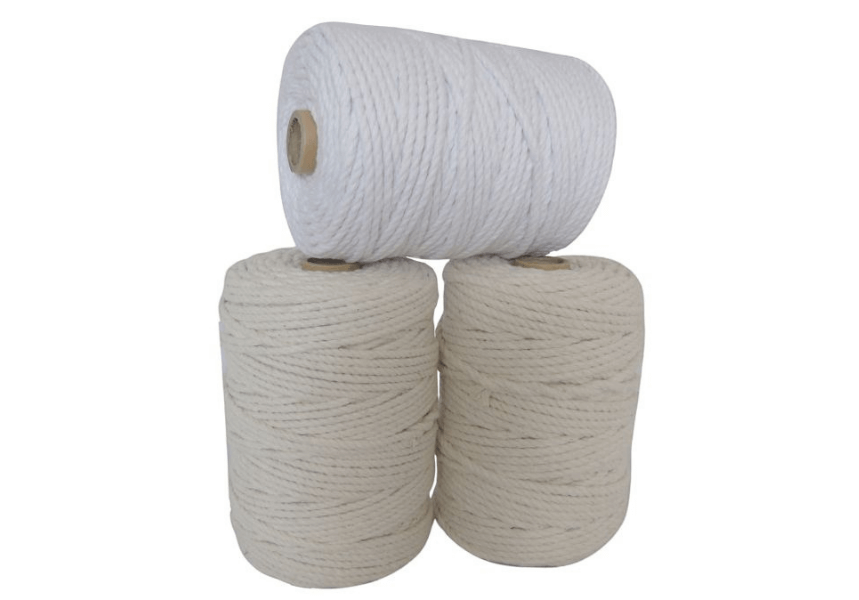
Here at RopesDirect, we stock cotton piping cords in 3-5mm diameters to suit many different sewing projects. These are high-quality, ready for immediate dispatch, and priced very competitively.
So what do you have to lose? Buy yours today, set aside an hour, and create your very own piping. And remember, we’d love to see photos of your handiwork. Whether you create a unique dress, spruce up your cushions, or add a touch of detail to your soft furnishings, either send a photo to info@ropesdirect.co.uk or tag us on social media using @RopesDirect so we can see the results.

