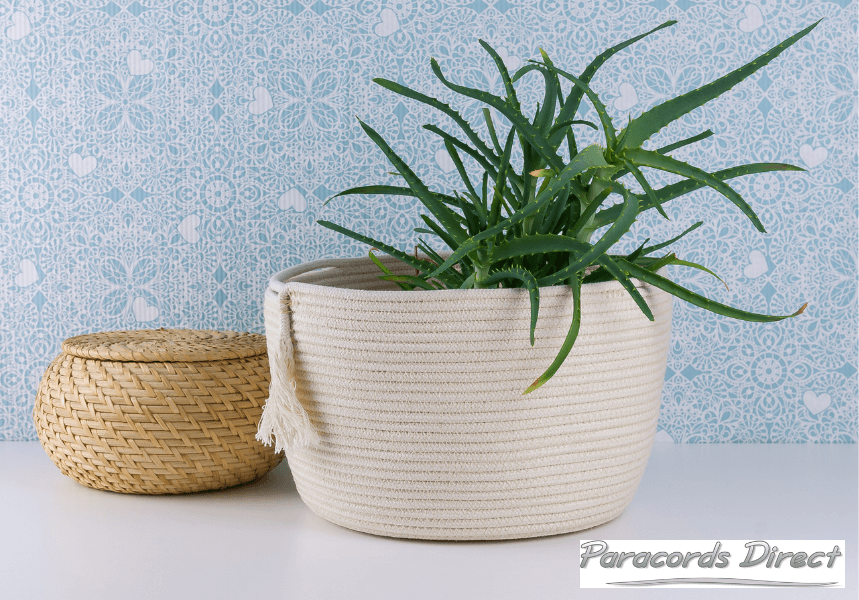
Rope baskets are making a comeback.
And who’s surprised? From small woven planters that are perfect for FEJKAs to large floppy designs that are ideal for laundry and storage, they have so many uses around the home. Their appearance is rustic yet contemporary and they can be created in a wide range of pretty shapes and colours.
Oh – and the best bit? They’re really easy to make!
With a single length of rope and a little bit of your time, it’s possible to weave a delightful home accessory that is both stylish and practical. Simply follow the instructions for our no-sew design.
What will I need to make a rope basket?
- approximately 10-15 metres of cotton or jute cord (the exact length required will depend on the size of the intended rope basket)
- a small amount of jute cord or string (optional)
- a pail or pot
- tape
- parchment paper
- hot glue gun
6 steps to make a no-sew rope basket
1. Prepare the pail
The pail will act as a mould for your new rope basket. So, be sure to choose a size and shape that meets your end requirements. If you wish, you can use a pail with tapered sides. But keep in mind, the widest part will need to be at the rim of the pail. If the pail is wider at the bottom, it will be difficult to remove at the end.
Once you’ve decided on a suitable mould, wrap its surface area in parchment paper and secure the paper down with tape to keep it steady.

2. Create the foundation
Place a small line of glue (about one inch long) at the end of the cotton rope. Then, immediately fold the rope over and press down firmly to stick it in place. This creates a stub that will become the foundation, or starting point, for your basket.

3. Wrap the rope into a coil
You’re now ready to start making your rope basket.
Apple 1-2 inches of hot glue at a time and slowly wrap the cotton cord into a tight coil. Try not to apply too much glue at once, as it will set before you can press the rope down and the bond won’t be as strong.
Continue wrapping in this way, until you have a ‘rope disc’ that is one coil larger than the base of your pail.

4. Build the walls
The next step is to create the walls of your DIY rope basket. Start by placing the pail on top of the rope disc. Then, apply 1-2 inches of hot glue – on the top edge of the rope – and press the next section down.
Repeat this process, tightly winding the rope around the circumference of the pail and securing it with glue as you go.

5. Secure the end
Once the basket has reached the same height as your pail, cut the rope with a pair of sharp scissors – leaving approximately 2 inches at the end. Fold this rope end in half (to create a second stub) and secure it to the body of the basket with hot glue.

6. Add the final touches
Lastly, you may wish to add handles to your new rope basket. These handles could be made from the leftover cotton cord. Or you could choose a contrasting material, such as brown leather.
Simply cut two pieces that are identical in length and width. Remove the pail from the basket and secure the handles using the hot glue gun. Alternatively, if you’re feeling particularly creative, you could stitch them into place with jute string.

Start making your rope basket today
Ready to give it a go? Fantastic!
Here at RopesDirect, we stock high-quality Cotton Cord that is perfect for this kind of project. Various diameters are available – including 3mm, 4mm and 4.5mm – and these can be bought by the metre to suit the size of your intended DIY rope basket (for an incredibly competitive price!). (Some people prefer Jute Cord for this – and of course we stock that too!)
So, what are you waiting for? Browse the collection, pop some cord in your basket and get started.
Images courtesy of: https://www.wikihow.com/

