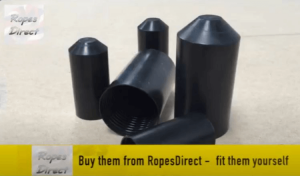
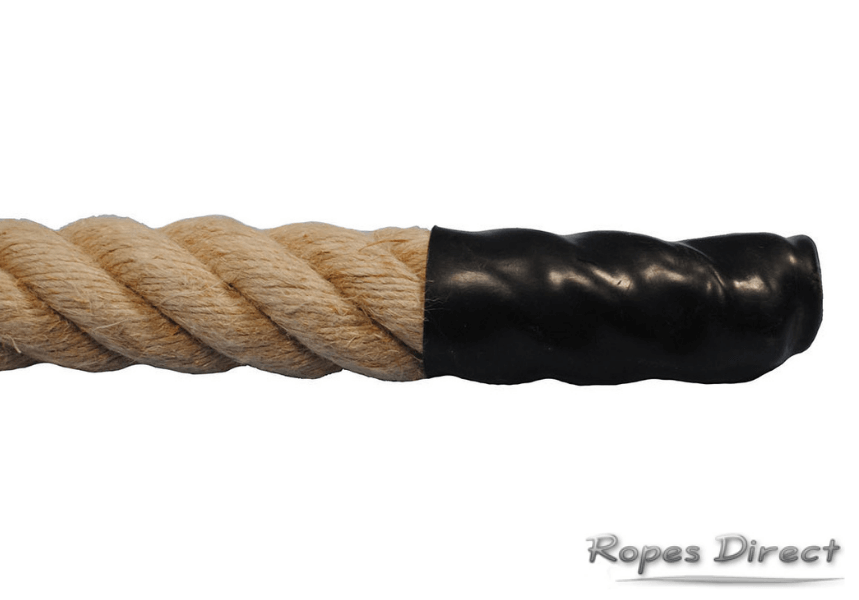
Heat set end caps are a great way to stop natural ropes from fraying. It’s possible to apply a whip, or tape the end, instead. But end caps are much more durable – making them a fantastic choice if you plan to use the rope regularly – and they form a smooth yet rigid cap that can be used as a handle.
Here at RopesDirect, we’re happy to fit end caps for you and can supply ropes with the cap already securely in place. But we also sell them loose. Which means, it’s possible to DIY and heat shrink your own. This is usually the cheaper option and it’s really easy to do (even for a beginner!).
Just take a quick look at our 60 second video tutorial and read through our detailed step-by-step guide below. Before you know it, you’ll be heat shrinking our rope end caps like a professional.
3 steps to heat shrink a rope end cap
Step 1: Select the right end cap
The right heat set end cap for you will depend on the diameter of your rope.
Our online collection features a diverse range of sizes, including end caps to fit natural ropes measuring 6mm-70mm. And using the correct one will make the heat shrinking process much easier.
If you’re buying both rope and rope end caps from us, double check the diameters before you add them to your basket. Or, if you already have rope at home, carefully measure the diameter before making your purchase.

Step 2: Position it correctly
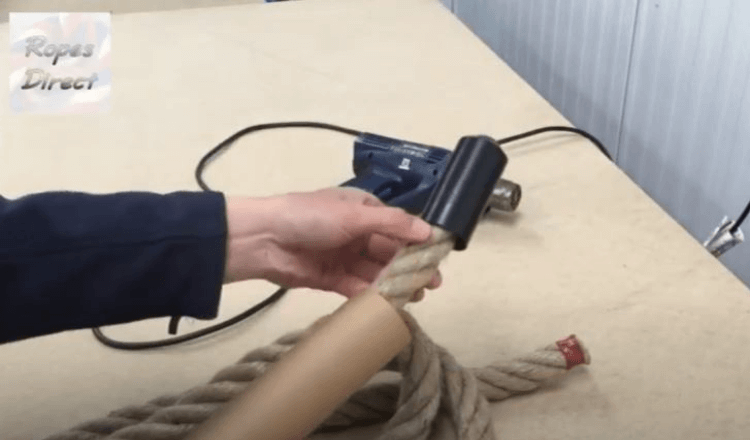
Position the rope in your right hand and place the end cap firmly over the end. Push it down until it will go no further and make sure all strands of the rope are tucked away inside.
At this stage, it’s also a good idea to wrap the rope in a cardboard roll, or something similar. This will help to protect the fibres of your rope whilst applying heat and prevent any unwanted burning.

Step 3: Apply direct heat
You’re now ready to start heat shrinking.
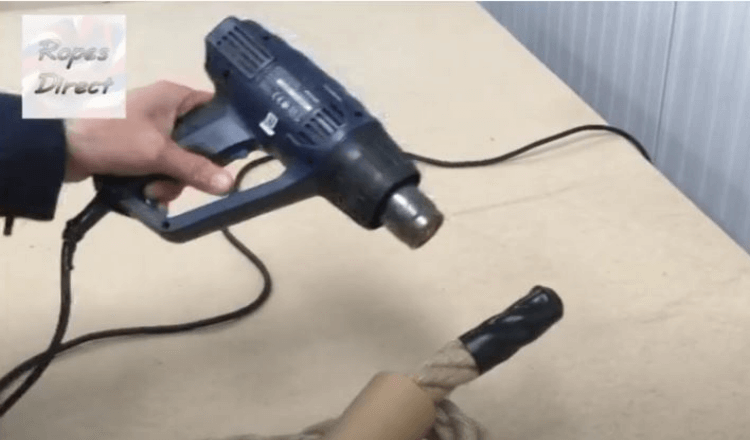
To apply direct heat, we recommend using either a heat gun or paint stripper. Hold the gun a few inches away from the rope end cap and – starting at the closed end – work gradually around the circumference. The aim is to heat the cap as gently and evenly as possible. It takes about a minute to complete. So be patient, take your time. And always keep your hands away from the heat!
From time to time it may help to push the end cap further onto the rope by pushing it into the side of your bench. Take care that the heat gun is secure and not affecting any other material while you do this, and avoid touching the end cap.
Once the cap is tightly gripping the rope, turn off the heat gun. The outer surface of the cap will still be very hot. So place it down somewhere safe and leave it for a few minutes before touching.

Start heat shrinking your rope ends today
DIY heat shrinking is much cheaper than buying ropes that already have heat set end caps. And it’s so easy to do, so why not give it a go? To buy our rope end caps as a standalone product, simply find the required size, enter the quantity needed and select ‘supplied loose’ from the dropdown menu. This will automatically reduce the cost when you checkout.
And remember, we’d love to see your handiwork! Once you’ve applied our heat set rope end caps, send us a few photographs and we’ll post them on social media for other customers to see.

