Fancy taking your green-fingers to new heights?
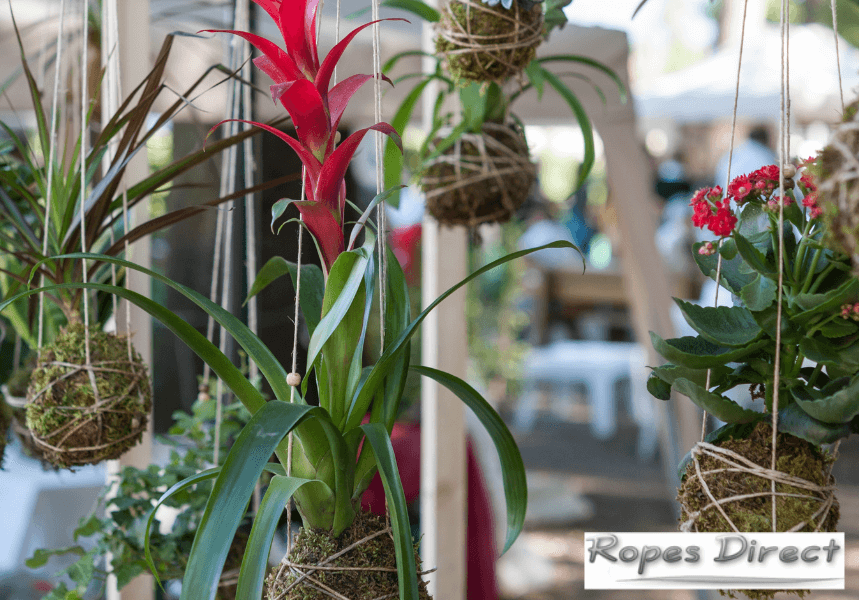
Kokedama, which literally translates as ‘moss ball’, is Japan’s answer to the hanging basket. Not only do they look amazing, they’re also pretty easy to make, and a fantastic project for the spring.
So why not give them a go? Here we’ve created a simple beginner’s guide to help. Just stock up on a few basic tools and supplies, put on your favourite gardening gloves and have a ball!
What will I need to make a kokedama ball?
First and foremost, to make a kokedama ball, you will need a small plant. Ideally, this should be one that is easy to grow (and keep alive!), such as a hardy pothos, philodendron or fern. Flowering plants (e.g. orchids) and succulents should be avoided, as these tend to require a lot of moisture.
You will also need:
- multi-purpose compost
- bonsai soil
- sheet moss
- water
- garden string or twine
Most of these materials can be found at your local garden centre. But if you’re struggling to find bonsai soil, a combination of sharp sand, compost and John Innes No. 3 can work just as well.
What’s more, here at RopesDirect, we stock a fantastic range of twines and strings that are perfect for tying your Japanese moss ball together. These are all of exceptional quality, yet affordably priced. And they can be quickly and easily ordered online and delivered to your home address.
How to make a kokedama
Essentially, a kokedama is made by wrapping the roots of a small plant in soil, sheet moss and string. They’re fairly straightforward to make, even for an amateur. And once you’ve got the hang of it, you can experiment with different plants and sizes and create a unique hanging feature for your garden.

Step 1: Mix the compost
To create a kokedama ball approximately 4 inches in diameter, place one cup of multi-purpose compost and one cup of bonsai soil into a bowl. Use your hands to mix these together.
Keep adding water – little by little – until you get the consistency of a sticky cake mixture.
Try not to get the soil too wet, as this can make it difficult to work with. But it’s important to keep in mind, it needs to be moist enough to mould into the shape of a ball and hold itself together.
Step 2: Create the kokedama
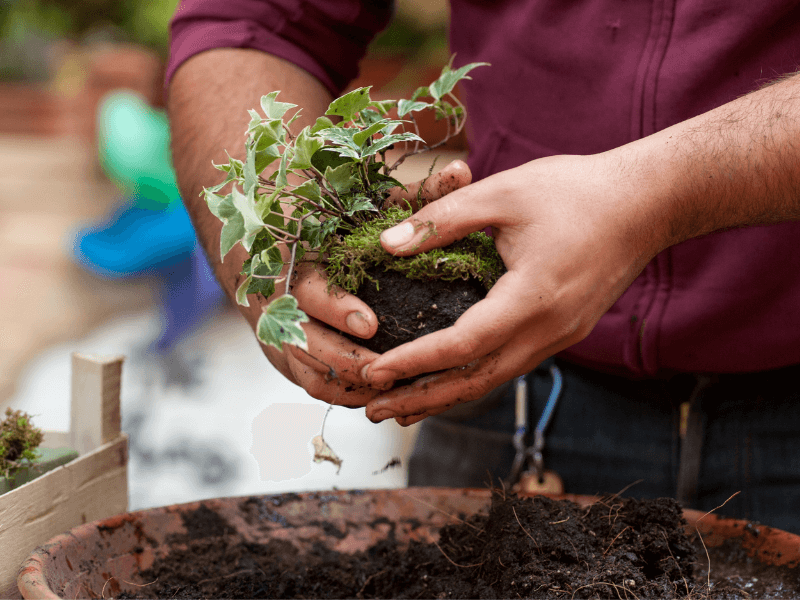
Grab a handful of your new compost mix from the bowl and form the shape of a ball, squeezing out any excess water. To create a space in the middle of the kokedama ball for your plant’s roots, either push your thumb firmly into the centre or divide it into two halves with a simple twist.
Ensure the roots of your plant are almost bare. And then, insert these directly into the space you’ve just created. You may need an extra pair of hands at this stage. But try to ensure the ball is as spherical as possible and plug any gaps with your leftover compost.
Step 3: Wrap and wind
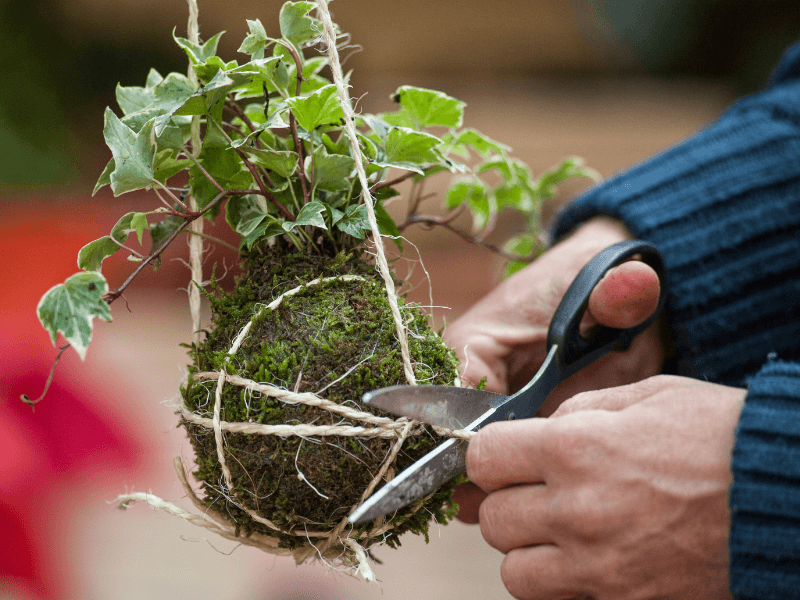
The last step is to wrap your kokedama plant in moss. To do this, simply lay a sheet of moss on the table, place the ball in the centre and wrap it tightly around its full surface area. This can be a little fiddly and you may need more than one sheet. But persevere until the entire ball has been covered.
Finally, starting at the top of the ball (i.e. near the plant), wrap the garden string around its circumference – in all different directions. This will hold the moss securely in place. Tie a knot and be sure to leave a long length of string, which can be later used to hang it from a tree or pergola.

Create a Japanese moss ball today
Eager to get started? Choose your plant, stock up on twine, and create a trendy DIY kokedama for your garden! If you would like to make a kokedama, browse our website for the best garden string or twine.
We’d love to see your handiwork. Send us a photo of the kokedama that you create using our strings and twines, and we’ll be sure to post some of the best on our site and social media pages!

