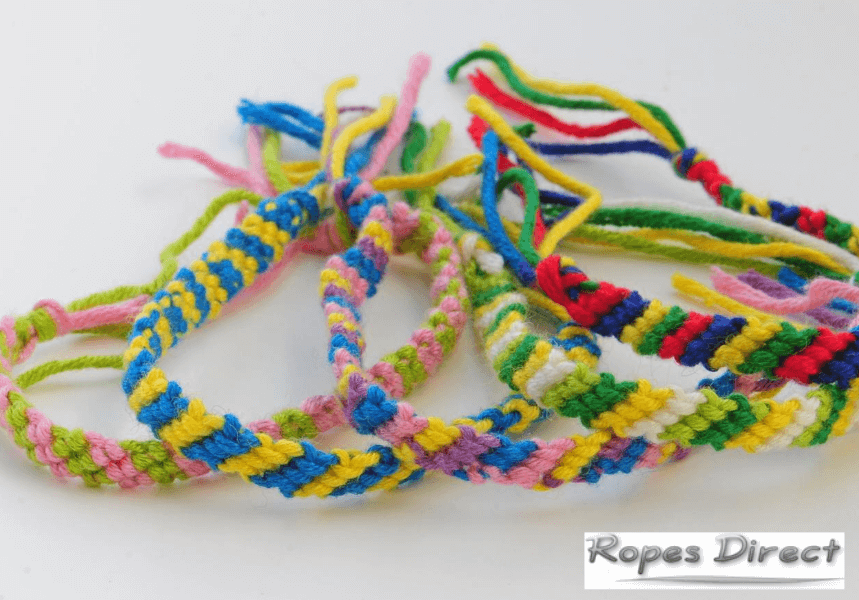
Run out of ways to keep the kids entertained?
That’s you and every other parent in the UK. After weeks of home-tutoring and a long (mostly rainy!) summer, you’re bound to be struggling for ideas. But we have one last craft activity for you to try. Friendship bracelets.
With schools set to re-open next month, these are a lovely gift for children to give to their best friend on the first day of term (after they’ve been sanitised, of course!). They’re a great way to while away a few hours and, despite their impressive finish, they’re actually very easy to make.
Here we offer a simple guide to show you and the little ones how.
What will I need to make a friendship bracelet?
A variety of different materials can be used to make a friendship bracelet, including:
These are all very soft to touch (therefore comfortable to wear) and are flexible enough to weave into a rope bracelet. Each one will create a different look. So, perhaps ask the kids and see if they’d prefer to create a bracelet that is rustic and pretty or one that is brightly coloured and eye-catching.
Aside from the rope itself, you’ll just need a tiny bit of sticky tape and a pair of scissors.
4 steps to make a rope friendship bracelet
Online, there are thousands of different friendship bracelet patterns for you to choose from. But our advice is to keep things as simple as possible, with a two-strand alternating hitch bracelet design.
After all, it’s an activity for the kids – and this is one they should be able to do themselves.
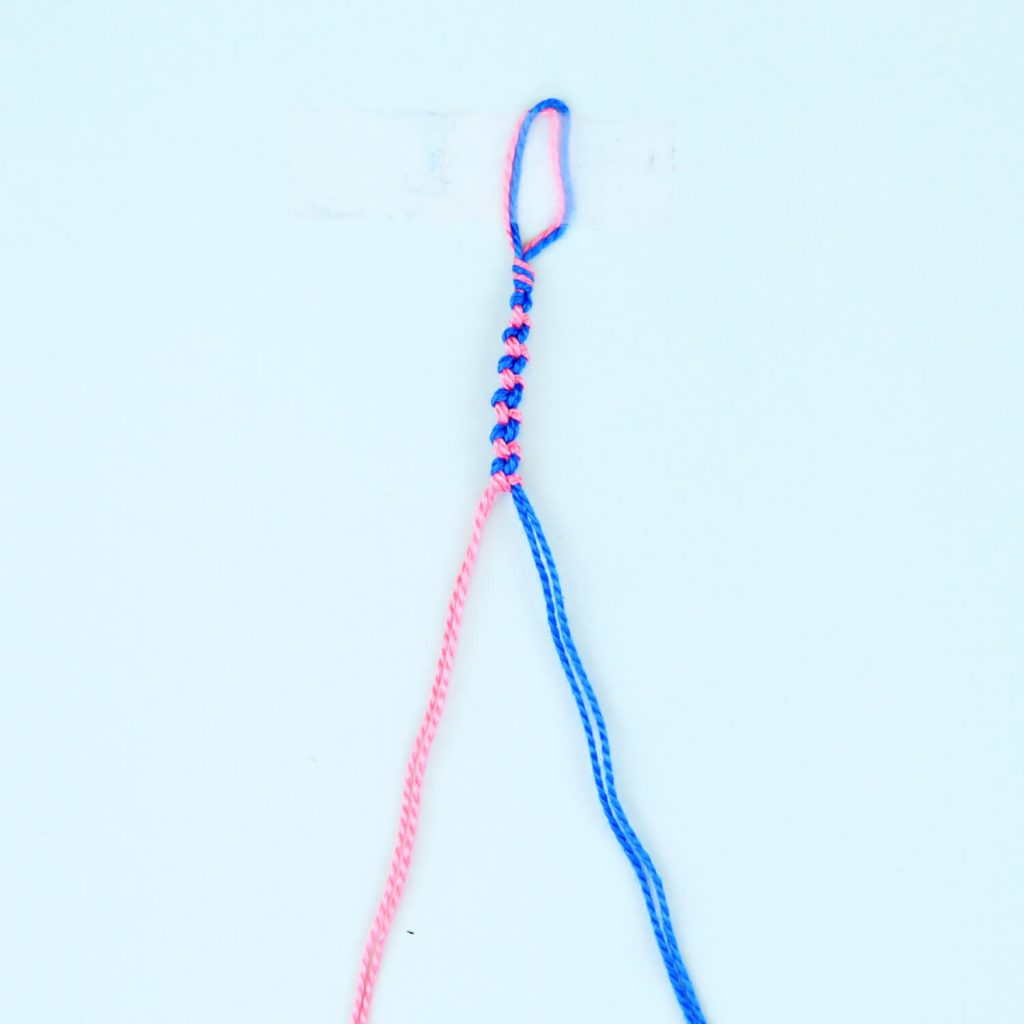
Step 1: Create a knot in the rope
First things first, cut two strands of rope from the reel. The ideal length for these strands will depend on how big you would like the friendship bracelet to be. But, in most cases, around 1.5m is enough.
Fold both strands in half. Hold them together and tie a knot in the middle, to create a small loop.
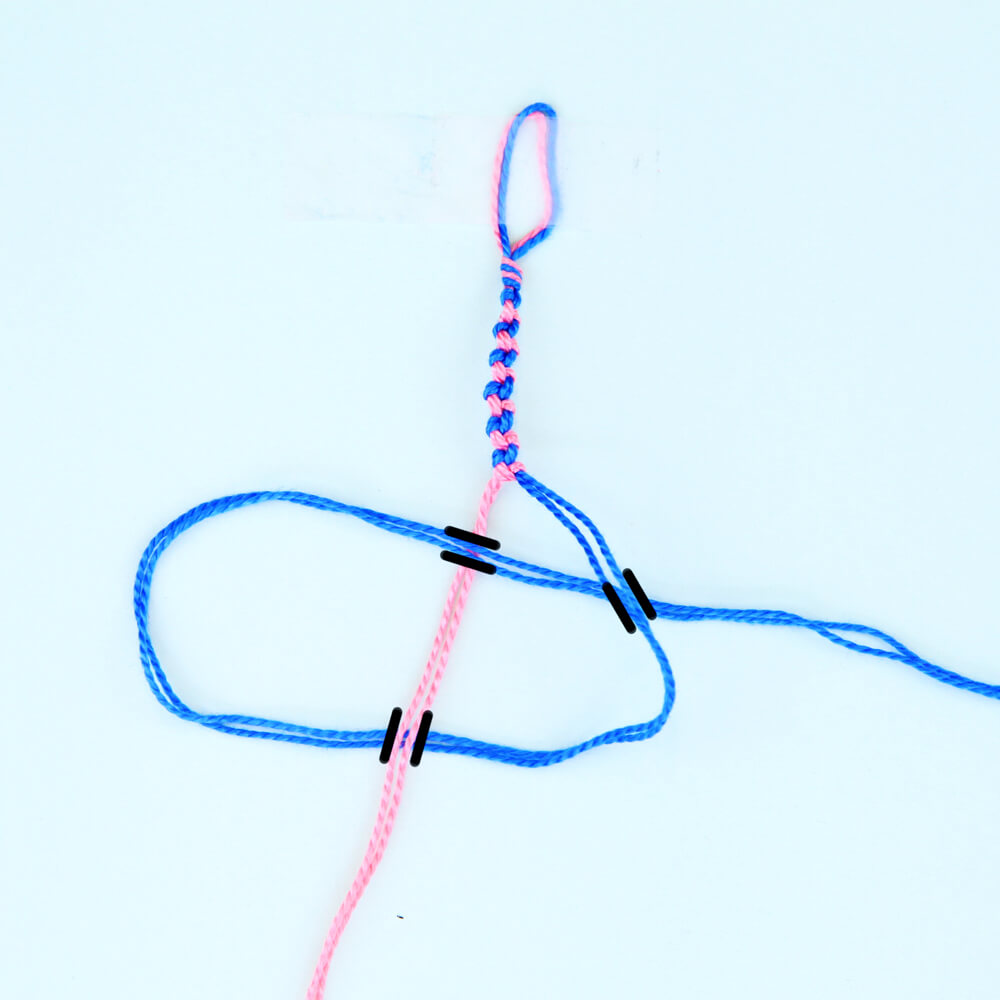
Step 2: Tie the first half hitch
Secure the loop to the tabletop using a small piece of sticky tape. This will stop the rope from moving, and make it significantly easier to manipulate.
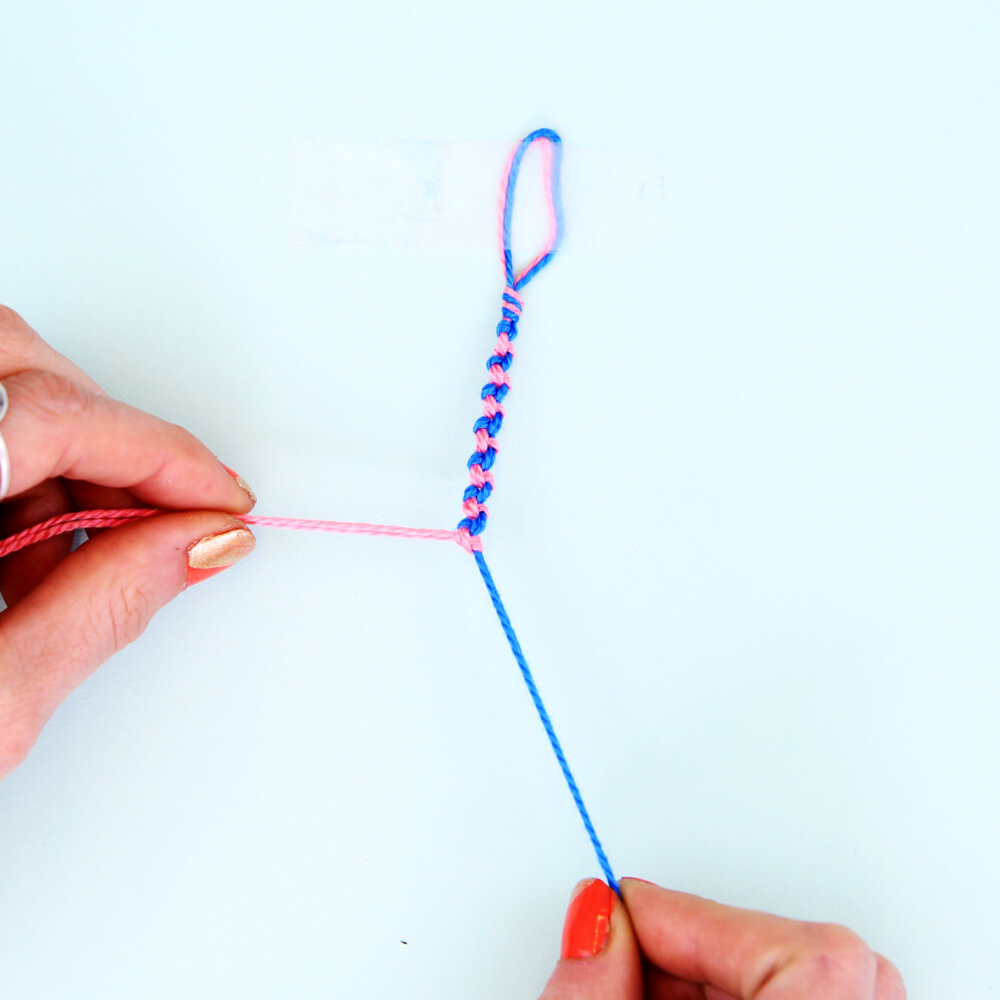
Position two strands of rope on the left to form ‘cord one’ and two strands on the right to form ‘cord two’.
You’re now ready to create the first half hitch.
Simply move cord two under cord one. Then, double it back over the top of cord one and under cord two on the right-hand side. To secure this first knot in place, pull cord two as tightly as possible.
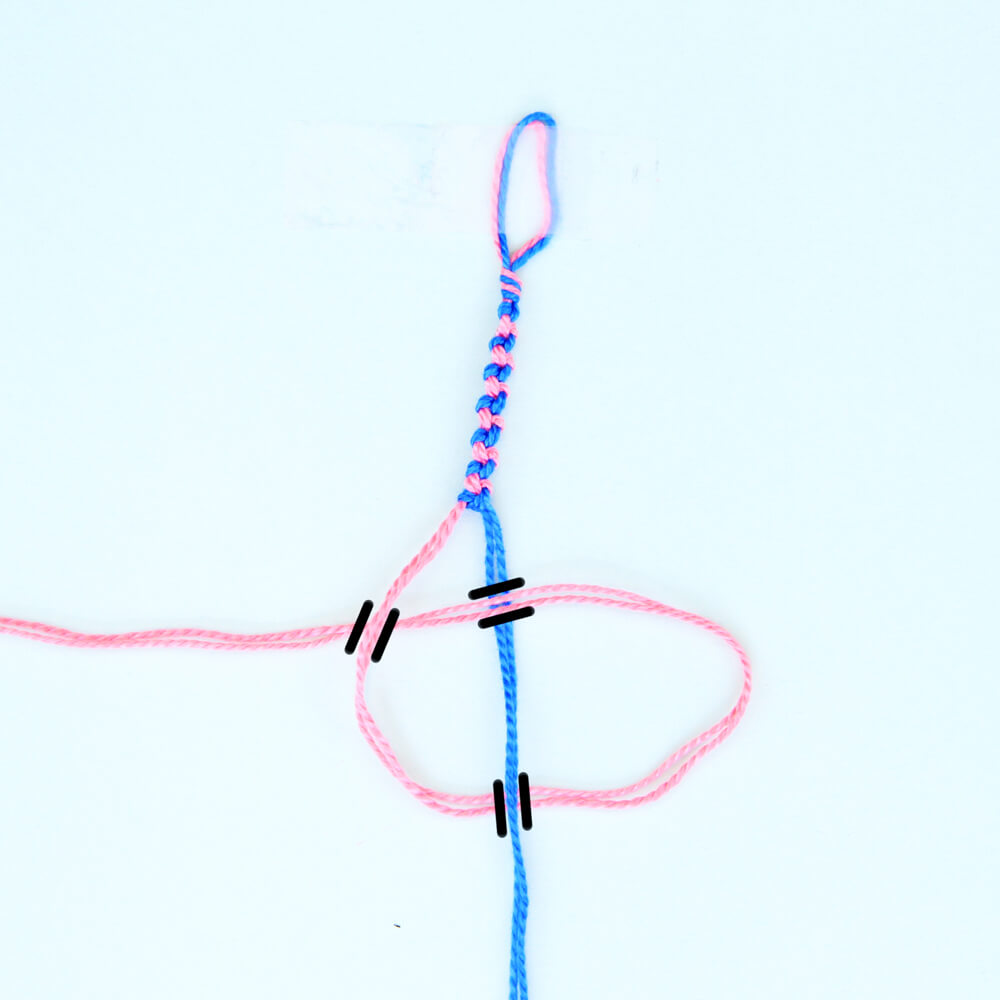
Step 3: Tie the second half hitch
To create the second half hitch, follow the same process – but move cord one instead of cord two.
In other words, pull cord one under cord two. Double it back over the top of cord two and then under cord one to finish. Again, once you’re happy with its position, secure the knot by pulling cord one tightly.
Step 4: Repeat the process
Alternate back and forth between cord one and cord two, using the method outlined above to create a continuous line of half hitch knots.
At this stage, you can also encourage the kids to be creative – perhaps adding colourful beads at regular intervals between the knots or inserting a pretty charm at the centre of the design.
Continue to weave the friendship bracelet in this way, until the desired length has been reached. Then to finish, tie both cords together with a secure knot and trim the rope ends down to size.
Start making friendship bracelets today
Fancy giving our simple ‘rope friendship bracelets’ a go? Here at Ropes Direct, we have everything you need to stock up the arts and crafts box and get started – including cotton rope, polypropylene rope and shock cords sold by the metre and 2.5kg balls of sisal twine. All of which are very competitively priced and, if ordered by 12 noon, will be delivered the next working day.
If you’d like further guidance on how to make a friendship bracelet, and the best materials to use, you’re welcome to get in touch at any time. We have detailed knowledge of the products available and are always happy to help. Either give us a call on 01692 671721 or send an email to info@ropesdirect.co.uk and we’ll respond to your enquiry as soon as possible.
Images courtesy of: https://craftjam.co/

