As far as kids’ playgrounds go, the trend definitely seems to head in the direction of rope-based games and props. Given the fast and easily-accessible technology we now have at our disposal, kids are a bit reluctant to go and play outside.
They would much rather stay inside and spend some time on the internet, play videogames, watch movies, or read. That means parents need to offer them something very attractive to lure them outside, where they can get some exercise and sun.
Since rope based sports and games are just the thing to achieve that, a rope playground has become just about the most popular option for outdoor play.
Also, the global climate is changing and that has led to numerous shifts in our lifestyle, in order to better accommodate and protect the environment.
This reflects in children’s playgrounds as well. They are usually big structures, placed in parks, school yards, or in your very own backyard, which need to comply with the new environmental regulations. And this is where rope comes in.
Building a huge rope and wood structure will not only attract your children as a place of never-ending fun and games but, also, it will be a completely eco-friendly solution, which will replace plastic and paint.
This is why rope playgrounds are the best solution for children home entertaining, both inside and outside. They are easy and fun to build and, by having your children participate, you can turn even the building stage of the rope playground into a family activity you will all remember fondly.
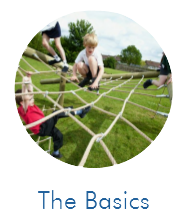
Rope Background Basics:
What a Rope Playground Should Contain
There are quite a few reasons why a rope playground is the best solution:
- Safety, because children cannot actually fall or hurt themselves while playing inside one;
- Low maintenance costs, as the rope itself, if taken care of, can last up to 20 years;
- Low space requirements, because a big number of children can play very close to each other in a three-dimensional net space and thus save room;
- Versatility, because in here, children can run wild, put their imagination at work and climb, swing, role play, and so much more.
This is why there is no right and wrong when it comes to rope playgrounds and there are no predefined designs. Adults, just like children, can let their imagination fly when it comes to choosing the elements of a rope playground and mix and match according to their wishes.
There’s nothing wrong with buying some of the components for your rope playground already made, and only add the finishing touches yourself.
Nonetheless, since you have chosen the DIY path to bringing joy and fun into your children’s lives, there are some things you need to know before you start, as far as technical elements and details are concerned.
- First of all, before going shopping for the supplies or actually starting to build the construction, think about the design. It’s a very good idea to put pen to paper here and basically make a drawing of what you plan on constructing, no matter how rudimental.
- Add on the side information such as the size of the construction, if it will be ground-based or multi-tiered, location in your yard, the materials you want or need to use, what quantities you need to buy them in and all the other whimsical and decorating elements you will use for making it fun and attractive for the children.
- Think about your budget as well, the number of kids that will be playing there and their ages. The size of the playground will depend on them outgrowing it.
As far as the design is concerned, rope playgrounds usually have a few key elements, found in almost every one of them, no matter the design:
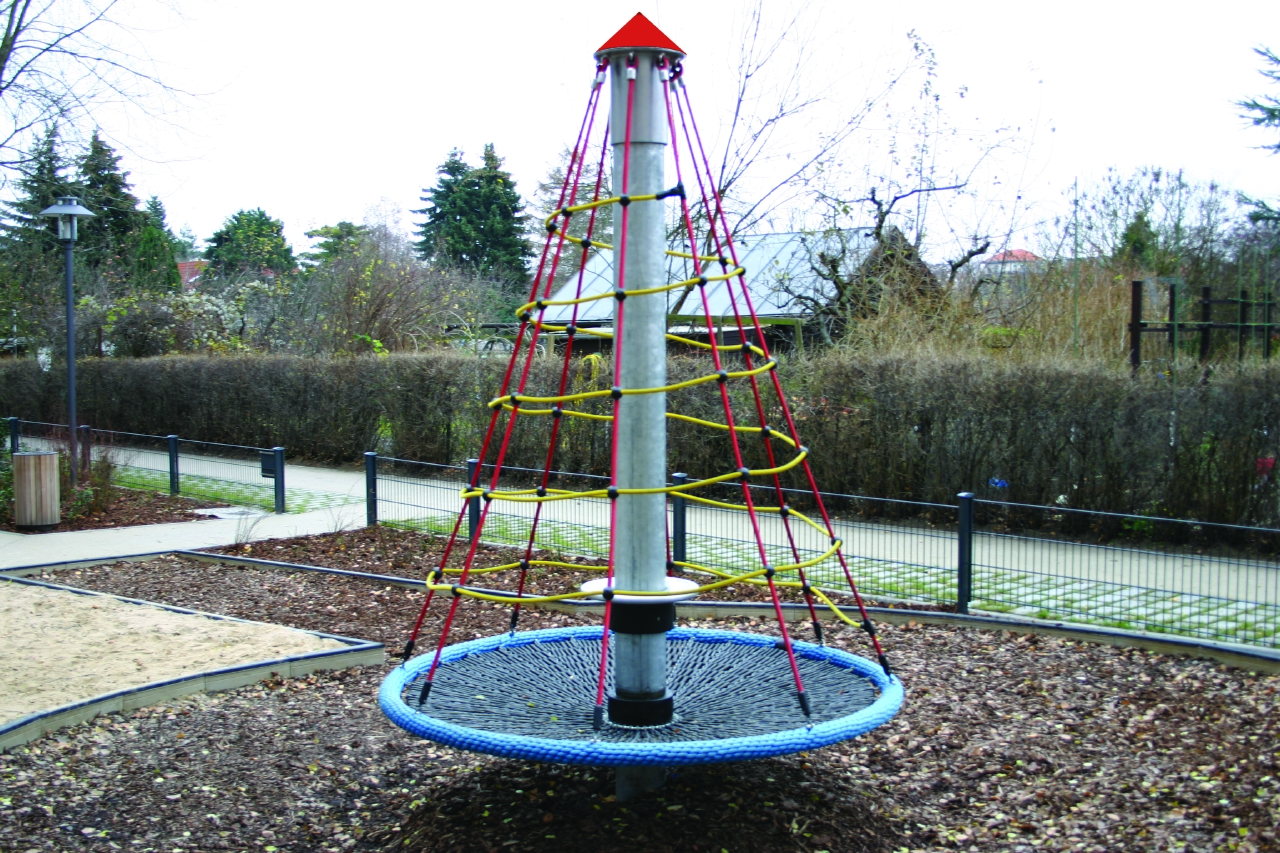
Rotating climbers – this is a very creative and modern twist on the old roundabout. It’s basically a cone made out of rope, with a solid base and all the rope loops tied to high end of a middle pole. The reason why kids love it is because it combines climbing with spinning. They come in a variety of shapes and sizes and can be installed anywhere, as long as the ground is flat.
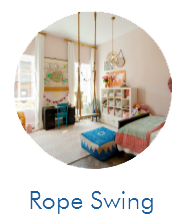
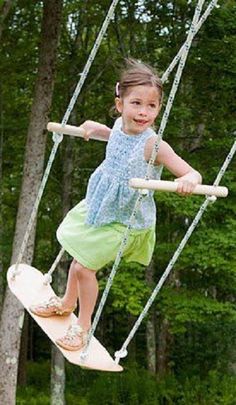
Rope swings – this is both a classic and a staple when it comes to DIY backyard fun. Most people have amazing memories from when they were little, back home and had their very own rope swings so it’s probably a good idea to install one for your child as well, as he is sure to love it. Plus, it’s incredibly easy to make. Check out the details below.
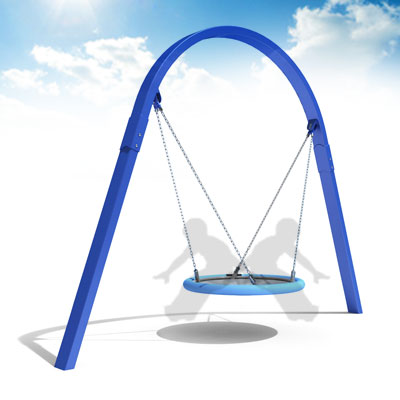
Biggo swings – these ones are the big, round swings, usually doubly suspended from a metal or wooden frame in the shape of an arch. They might be a bit more difficult to make but, just like the vintage swing, the fun your kids and maybe even yourself, sometimes, will have in it cannot be measured in words.
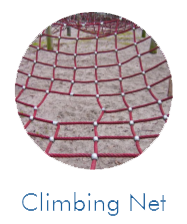
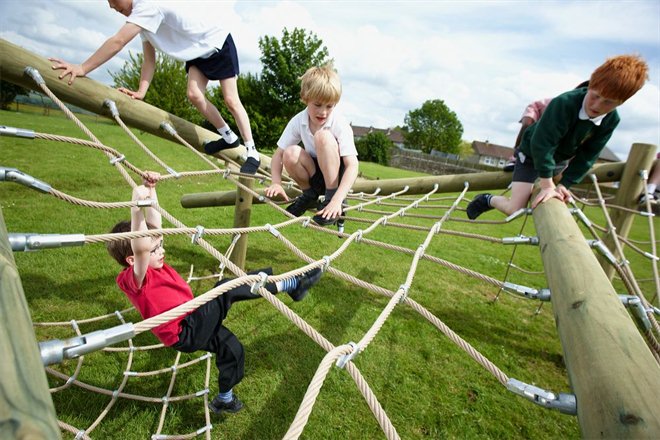
Rope climbing nets – There are several types of climbing nets you can install, which is why it’s so important you do your homework before you start. Choosing a type depends on how big you want it to be or if you children themselves have any special requests. There are mast nets, tot nets and frame nets.
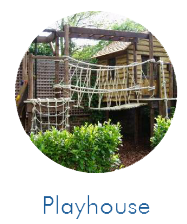
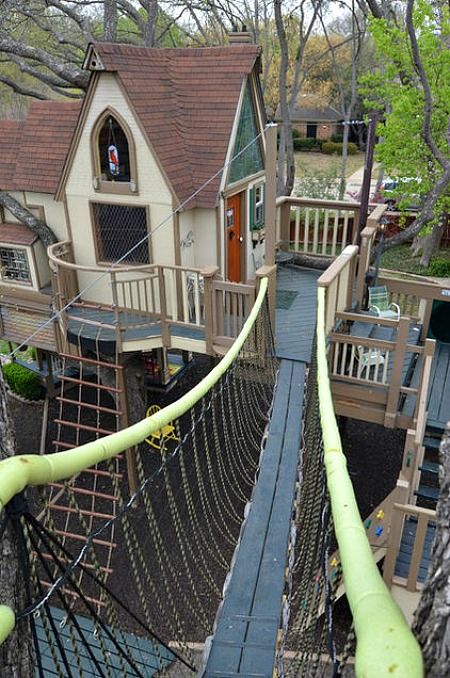
Rope playhouse – it’s one of the most interesting items you can add to your DIY playground and one that will surely be appreciated by the little ones. It’s usually a complex structure, looking somewhat like a tree house, but with many of its elements made of rope. It can be simple or even double, with the house and compartments linked by rope bridges.
Apart from these basic elements, there are many others you can add to your playground, depending on its design and your budget, elements that will decorate and make it more interesting for the kids, such as:
- Rocks – they can be real or fake, made of foam, for example and you can buy them or simply go out, find some boulders and bring them back to your yard. They will add a touch of rough nature to the playground, giving the kids a chance to explore more and add more creativity to their games. You can even tie ropes between the rocks. However, be careful about their shape. Do not bring home boulders that have sharp edges and try not to stack them, so as to minimize the risk of them tumbling over. If your children are of a small age, maybe think about using only foam-made ‘rocks’, in order to minimize the risk of injury.
- Tree stumps, logs, and stones – these are great for tying lengths of rope between them and becoming natural frames for your rope creations. The same as with the boulders, you can buy them or find them in the forest, for example. Make sure they don’t have any critters or dangerous bugs when you pick them up. Keep an eye out and don’t pick the ones that have fungi or wild, possible dangerous mushrooms on them.
- Forts – if you really want to go all the way and make your children’s dreams come true, add a fort. Build it high up in a tree and make at least one of its walls and the ladder leading to it out of rope.
- Slides – any playground needs a slide. This, alongside the classic swing makes the power traditional duo of any happy childhood.
- Hammocks – giving the little ones some time out is also important, but they don’t need to come inside for that, as they can just lay in the hammock for a little while.
- Zip-lines – this item is for the most daring kids, who want to feel like pirates of superheroes when they play.
DIY Rope Swing
As a child, I don’t really think there’s anything more beautiful than running into your own yard and hopping on the swing whenever you want. Rope swings are made for fun and some of us, even as fully-fledged adults, still want one.
They are entertaining and remind one of a time when everything was much simpler and this is why some people even hang one in their bedroom.
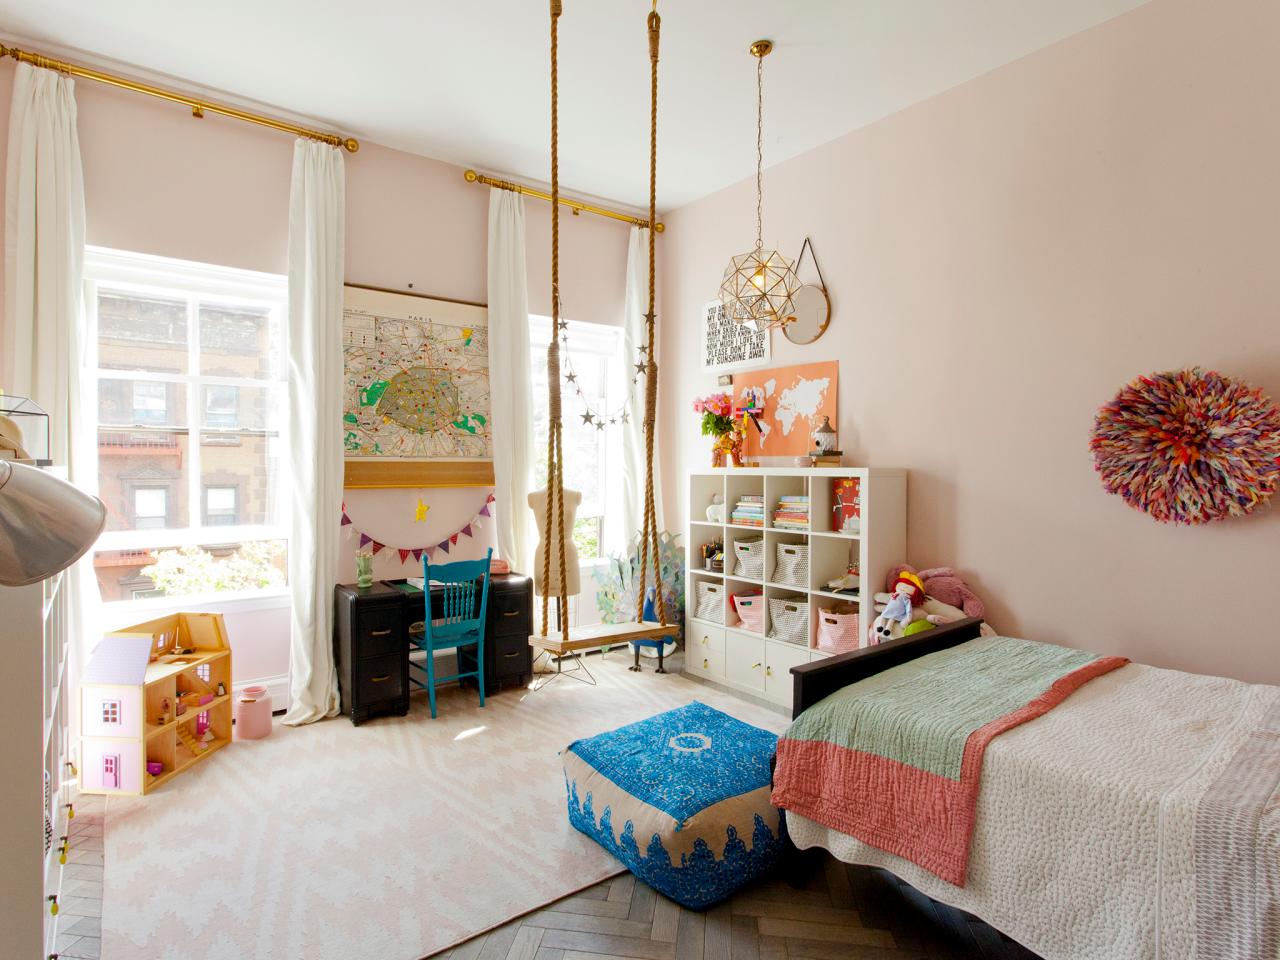
Building a rope swing is actually a lot easier than you’ve ever imagined. Here are the steps involved:
- Find a design that you like, either online or draw it yourself;
- Make a plan, which means to actually draw how you want your future swing to look like. This will come in handy afterwards. At the same time, write all the desired dimensions on the plan, so that you can build it nice, straight and balanced;
- Find the materials you need. You can either buy them, because they will be very cheap, or try searching your house. You might find you already have what’s needed lying around. For the basic rope swing design, you will need some rope, possibly braided manila kind, and a plank of wood for the base;
- Tie the rope twice around your desired tree branch. Make sure that both ends touch the ground, so that you have enough rope to make the knots later on;
- Wrap the rope’s ends with simple scotch tape to prevent them from fraying;
- Drill four holes in your wood plank, one in each corner;
- Push the rope through the holes and tie knots under the plank.
This method is easy and fast, not to mention cheap, and the fact is that your kids will absolutely love it.
DIY Rope Climbing Net
Rope climbing nets are a valuable asset to add to your playground. They are basically the foundation on which your entire play zone is based on.
Either you make them standalone or build other items, like forts and climbers out of them, you will need to incorporate them in the area.

The first thing you need to know about climbing nets is that you will have to learn how to tie some specific knots first in order to be able to construct a net. Most online resources and tutorials point towards the Carrick Bend as being the best knot.
It’s ornamental as well as very strong, will not slip under pressure, or create sharp bends which might cause the net to break. Therefore, you might want to go with it, but you can also try other kinds if this one doesn’t satisfy or if you already know how to tie other types of knots.
You can find tutorials for making the Carrick Bend online. Make sure to read all the instructions carefully, look at the pictures, and follow each step precisely. (Image source www.animatedknots.com)
Remember your children will be climbing this net and putting all their weight on it, so you want it to be as strong and correctly built as possible.
A few tips and tricks that will help you construct a safe and fun climbing net for your kids:
- practice as much as possible before starting on the actual net so that you can get the Carrick bend right;
- secure the ends of the rope by drilling some holes in a wood board, fitting the rope ends through it, and tying them into strong knots, just as with the rope swing;
- make sure to buy the specific type of rope designated to the weight you believe it will have to hold;
- don’t place the climbing nets too high or in a tree.
DIY Rope Playhouse

A rope playhouse is basically a tree fort or a tree house with many of its elements made of rope.
You can let your imagination take charge with this particular element of the playground and shape the little houses as you wish. Usually, a rope playhouse has one or more of the following elements:
- A knotted rope climb, which is used by children to climb up to the small house. It’s basically a long piece of sturdy rope, with big knots tied every few inches, which will be used as grips for climbing. The simplicity of the design makes it incredibly easy for you to install one yourself at home.
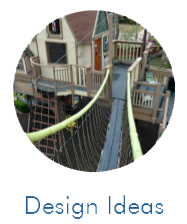
- A rope bridge, that can either lead from a tree to the house, link two houses together or be used as a way of getting from one platform to another. They are a very fun addition to the playground and children love it because it gives them a sense of adventure. However, you must be aware of the fact that building a rope bridge is a very challenging job, which requires much skill, and attention. That is why it’s best to call in a specialist. Any mistakes made in constructing it might have serious consequences, given the fact that it will be suspended somewhat high above the ground.
- Rope entrances – They are basically some large, steep to some extent climbing ways into the tree house. Children adore them for the extra challenge they pose for them getting up in the tree but be careful about the fact that they are not easily climbable for adults. So, you might want to add a second way of getting to the tree house as well, in case it’s needed.
- Rope walls. One or more of the rope house’s walls should be made completely out of rope, so that the little ones can pull, tug and climb them up in the tree. A few things here require your attention, though – don’t weave the loops in the net walls too large, so that the children cannot get their heads caught in. Also, it’s best to call in a specialist to help you. A tree house is a complex construction, with a wooden roof which poorly built rope walls might not support.
DIY Rope Games
Another great thing which you can add to your backyard DIY playground is rope games. There is a wide variety of rope based play layouts out there and most are fairly easy to construct at home.
Before you get started, as usual, do some research and select a few you would like to see planted in your garden. Don’t forget to talk to your kids as well.
They always have great ideas when it comes to playing games. Also, they can help you build, paint, and decorate them. Here are some amazing ideas for really fun and easy DIY rope games:
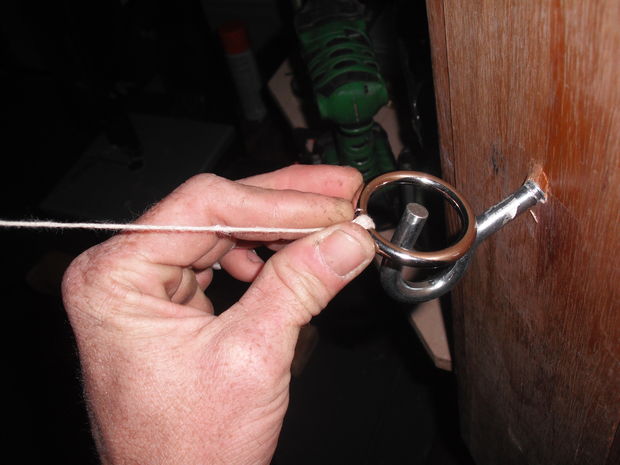
Ring on a string – You need a metal ring, a screw type wall hook, a hook, and some string. The idea behind it is to bolt the hook to a wall of the house or to a tree and then secure the ring on a rope above it. When the rope is fully stretched, the ring should be centred on the hook. The purpose of the game is to get the ring on the hook, of course. It may seem simple now, but it’s tougher than you think. Plus, it’s incredibly addictive.
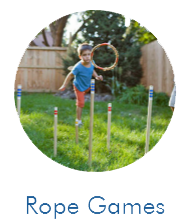
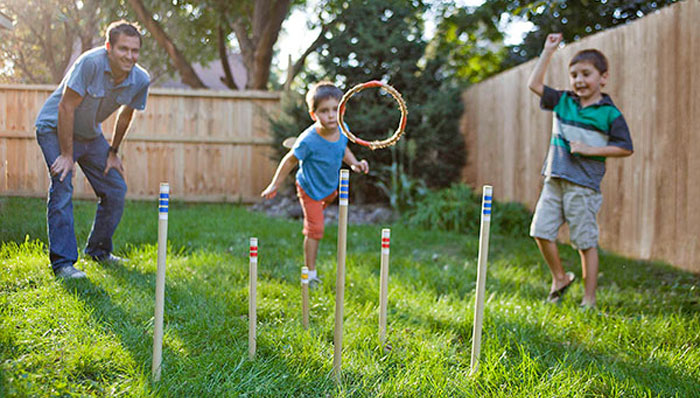
The rope ring toss game – it’s a much prettier variation of the classical ring and toss we all knew and loved as kids. You will need a handsaw, some scissors, a hot glue gun, manila rope, and as many hardwood dowels as you want. Use some differently coloured tape to decorate the dowels so as to make it easier to count the points for every toss. Arrange them in a pyramid format, where the ones in the back are the toughest to get and, therefore, are worth the most points. Use the manila rope to make the ring out of. You can either use just rope or shape it as a ring with some tape and the hot glue gun or you can simply wrap the rope around a wooden, plastic, or metallic ring.
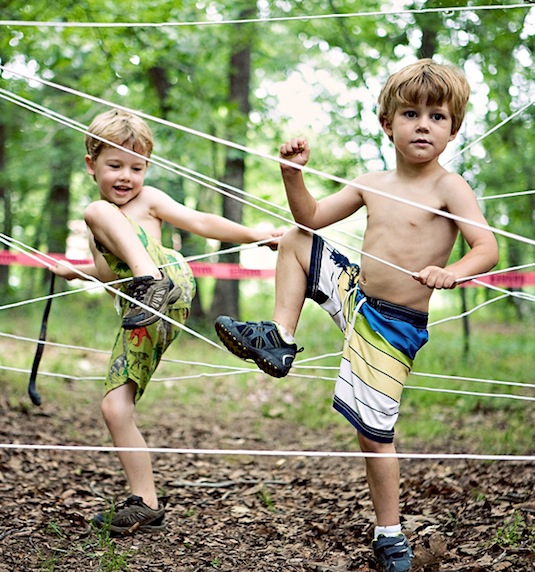
The rope obstacle course – just as the name suggests, the idea behind this game is for the kids to race one another and beat the obstacles you put in for them. For this, choose two trees in your garden close to one another or, if you don’t have any trees, put in place two poles and tie long pieces of string between them in an intricate pattern. Think laser obstacles that you see in movies to protect valuables against thieves. The kids will have a hoot and a half getting out of them.
Tug-of-War – the oldest and easiest game in the book, tug-of-war, only requires a long piece of string which two kids or two teams pull on, to see who’s the strongest. However, if you want to put a spin on things, add a mud pit and it will get a lot more interesting.
Assembling the Rope Playground – 5 Design Ideas
As far as design goes, make sure to take into consideration the allotted space, your budget, and your children’s interests and hobbies. If you have both girls and boys, make the playground gender neutral. If they are into certain cartoons, children’s books or movies, create a theme playground and so on.
It’s best to involve children in the project from the very beginning so that there is no regret afterwards. Also, don’t be afraid to be original and quirky because it’s all about funand games. Here are some cute design ideas:
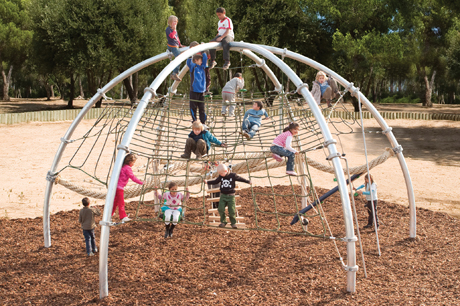
The octopus – it was named like that because of the poles that sustain the climbing nets. They are basically two wooden, metal or PVC arches, crossed between them. The crossing in itself is what causes the whole structure to look like a giant octopus. All the nets and climbing walls are tied to the poles. You can also add a slide or some wooden stairs connected with rope, for the kids to climb all the way to the octopus’ back.
The spider – gets its name from the shape of the net. You need to plant as much as 10 wooden logs into the ground and tightly stretch a round, spider-webbed net between them. Don’t elevate it too much from the ground and make sure it’s slightly tilted because this particular design is suited for smaller children as well.
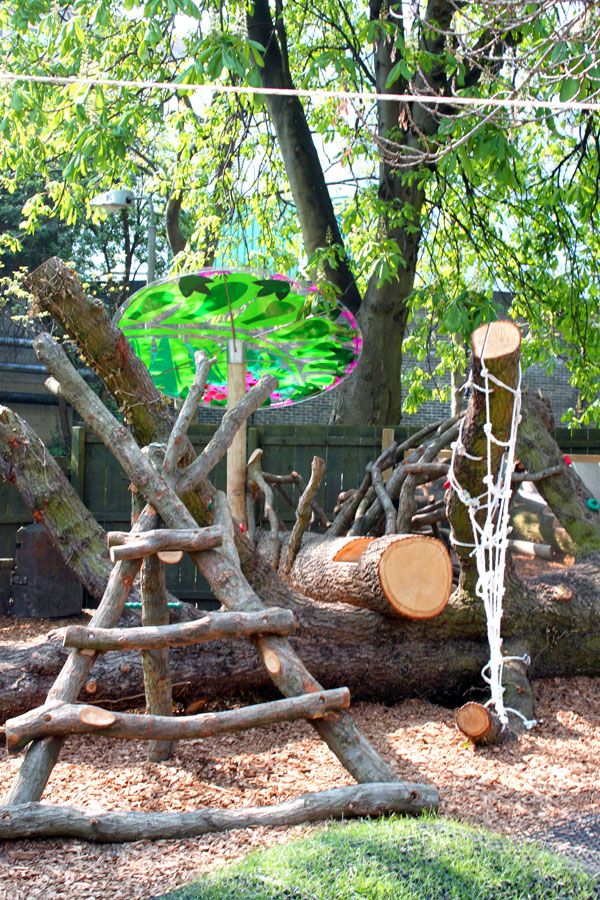
All natural – this design is all about using materials and elements that can be found in the environment. This means that you can use logs, tree branches, leaves, grass, and moss to give the playground the look and feel that it just naturally happened in your backyard. Children tend to appreciate this design perhaps more than others, mainly because it reminds them of nature so much. They seem to enjoy the touch of raw wood and bark rather than metal and plastic.
The fairy tale castle – this particular design is a bit harder to pull off, because it has many elements, most of which are intricate and big. It comprises several tree houses or forts built in the shape of castle towers, stairs, ladders, rope bridges, and climbing ropes. Make use of the surrounding trees to help you revive the magical-castle-in-the-forest feel and add as many elements as you want. Zip lines and tire swings are very welcomed.
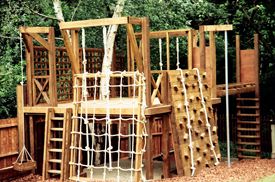
The pirate house – it’s a predominantly masculine design, made for little boys who like to pretend they are pirates or Captain Hook. It is actually a one level house, built on the ground, not in a tree, cubical in shape, made out of wood, and that has many rope climbing elements in it. It’s very easy to construct, as long as you have the necessary materials and tools, as well as a bit of experience in carpentry.
Many experts in the industry say they have noticed a shift in trends as far as kids’ playgrounds go. The new trend seems to be headed towards rope-based materials.
This means that, slowly but surely, constructers, city planners and parents alike are saying goodbye to the old plastic slides, metallic swing chains and rubber mats.
Progress and a desire to remain as eco-friendly as possible is ushering in the rope trend. It’s safe, natural, and very cheap.
All in all, if you consider building your child an entertaining playground and are planning on doing it yourself, you should look at rope as the best option.
Pair it off with wood and other natural elements and you will be faced with a win-win situation.

